Now that I am on summer vacation, I decided to finish putting together my scrapping space. I had cabinetry made for this space in the winter but I hadn't used it for scrapping. I knew I had to take the time to put everything where I want it so that I can find everything easily and maximize my scrappy time. I absolutely love it and can't wait to scrap the summer away. :D
Because of the size of my space and the fact that it's a shared space with the kiddos' play area, I decided to go with a U-shaped desk. Most of it is for me to use but the left surface is for the kids to scrap or do crafts at. There's a space for a chair on one side and then further down space for a chair on the opposite side so they will be facing each other while crafting.
This is my drawer system. I got six shallow but wide drawers made for housing my most-used supplies. I've got my ATG and other adhesives as well as my pencils, erasers and ruler there. In the second drawer, I have all my stitching tools - piercing mat, needles, stencils, Sew Easy and heads. I have all my punches in the next drawer down. In the fourth drawer, I have my inks and right below that, I have all my stamping stuff. In the bottom drawer, that's where I keep my cutting supplies - my circle cutter and my Cricut gear.
Then I had him make 10 almost square drawers and that's where I keep my embellies. I've got my gems and pearls in one drawer, chipboard in another, 3-dimensional stickers in another, mists, paints, Stickles, rub-ons, tags and extra adhesive. None of them are full yet but I like having everything separate - it makes it so easy to find.

This is where I keep my paper. Now, it's not a finished area because I need some more Cropper Hopper vertical storage containers to move my PP over. Right now it's in a plastic bin with a lid under the desk and it works quite well. I separate out my cardstock by colour (I do that with PP too) and store it here. I keep my specialty papers in those coloured craft envelopes. To the left of those, I have my magazines and my sketch book, my alphas and in the skinny one, I decided to put my Allison Davis sketch books. On the bottom, I put the paper pads that I haven't taken apart because they're more specialty ones and some paper collections. I also keep my folders where I put my page kits to work on down here. And in the last square, I have all the baby boy stuff handy, since I'm still working on A's baby album. :)
This is my shelf above the desk. This is where I keep the bigger things and the prettier things that I use.
Here's a close-ups of my ribbon, buttons and brad storage. I bought these little glass jars in the winter and decided to separate all my goodies by colour. I don't have that many brads so I put all the minis in one container and the bigger ones in another.
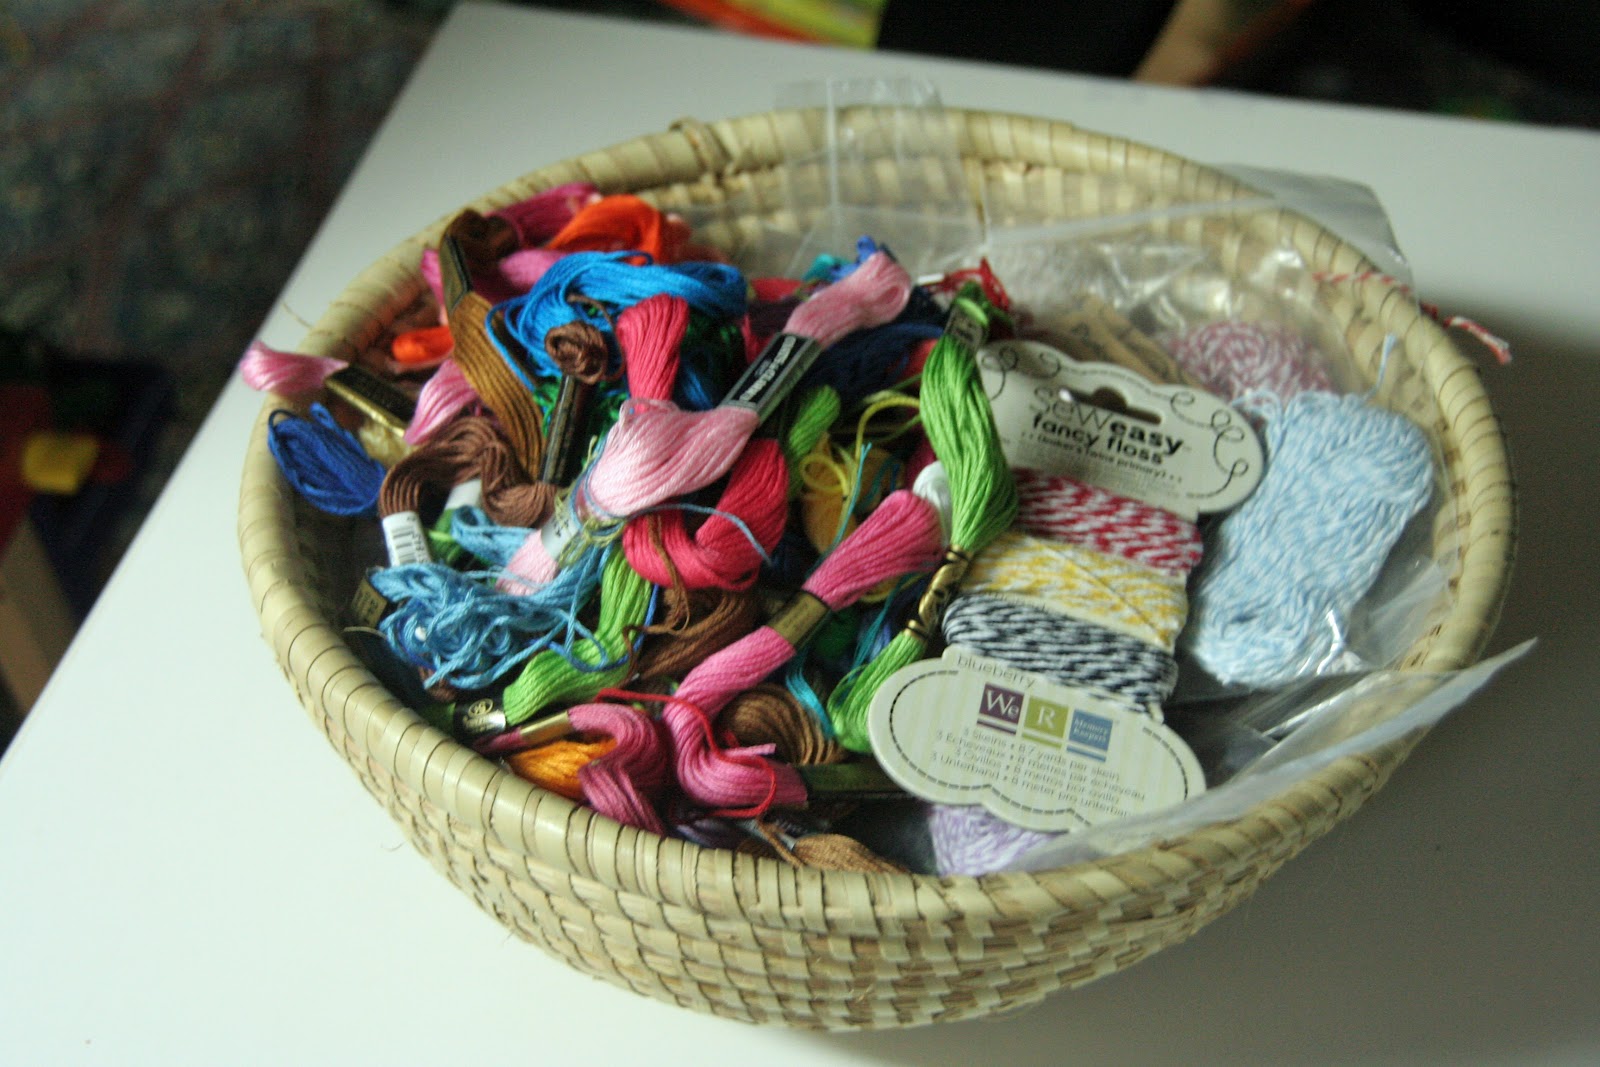
I decided to store all my embroidery floss and twine in this bowl that we got from Pakistan. It doesn't take me long to find the colour I want in here and I like how it looks on the shelf. :)
This is the spot where the kids can work. I bought a big quilting mat from the fabric store when they had a 50% off sale. So they can get messy all they want! There's also one of the Ott lights I got from Joanne's online when they had one of their great sales.
This is my main area. I decided to keep my craft mats out and ready. I put my Cricut in the corner because I don't use it too often but I also don't want to have to lug it out when I do want to use it. I love my other Ott light with a carousel for goodies. I have a tray for my good pens and then just a regular pen stand for my not-so-special ones.
This is my big shelf. I store my filled and unfilled albums there as well as page protectors and photos. It's not organized much yet but at least I have a place for everything. I got that Cropper Hopper cart at Christmas and I decided to keep my less-used stuff there - stickers, bigger chipboard, etc.
I hope you enjoyed this little tour through my craft space. Now I have to focus on decorating the walls around it with inspiration.